3D Scanning and printing
1. 3d scanner
My first contact with this kind of technologie was using 123d catch, taking more than 20 but less than 70 photos i can build a 3d model. The problem was the ilumination, is actually easy to use but in the process I learned how to use this tool.
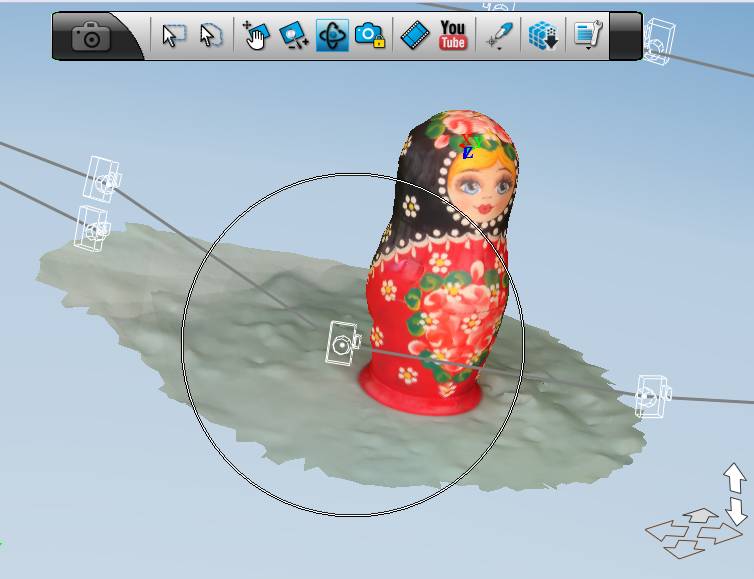
In this model i had a lot of mistakes because the model was symetrical and the texture was repetitive. Also the black part was always not good scanned, i tryed again installing a better place to take the pictures with almost the same ilumination and without high contrast of light in the background.
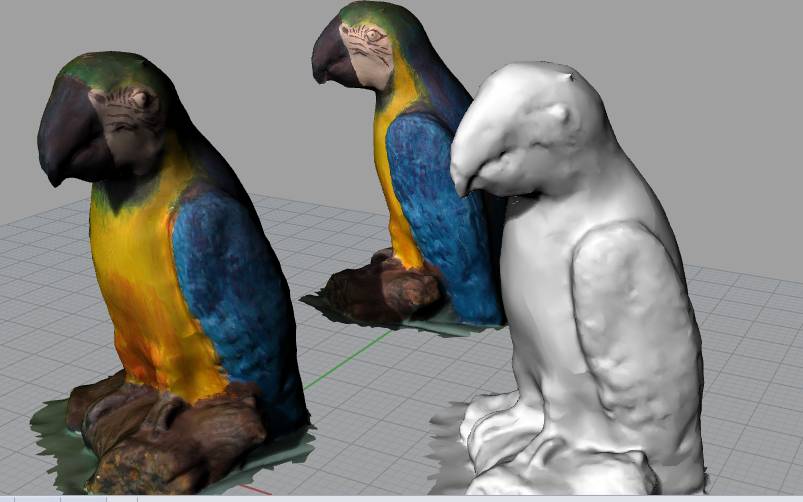
After setting a better place for taking the photos this are my results.
This was an old sculpture that i made as i was child, i scanned it in order to put it on my design renders, i think a use for this tool is to take some things of our world to the render of future projects. Its really nice
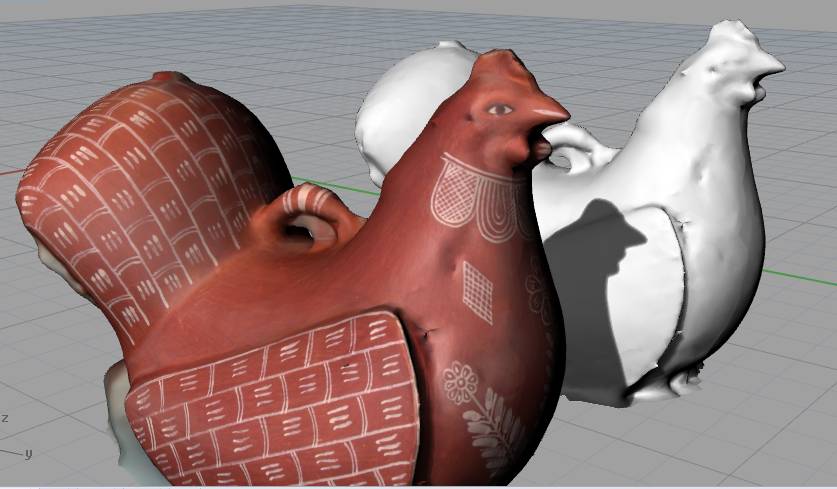
This is a traditional hen of Ayacucho with this project i would like to include some archeological pieces or traditional ceramic pieces into the digital world.
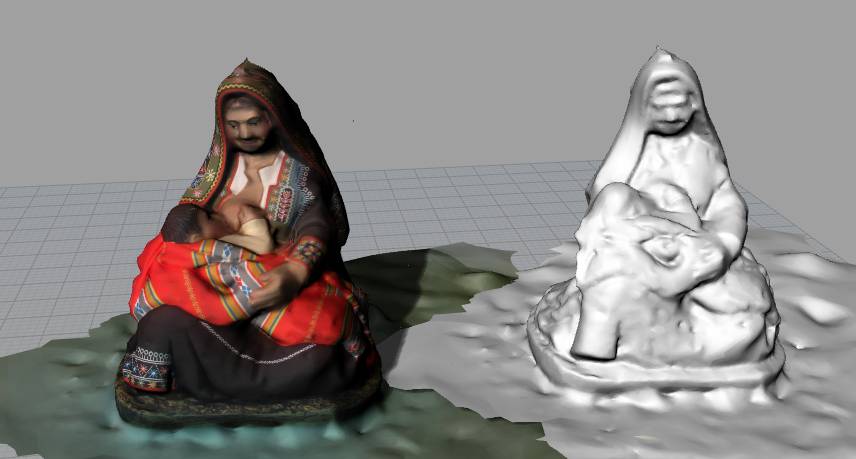
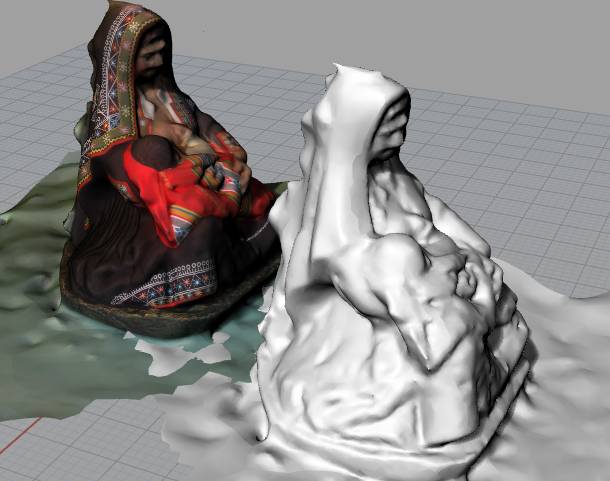
And this finally was a sculpture of Cusco, the mapping was here really amazing, is a the typical dress of Tinta a small town in Cusco.
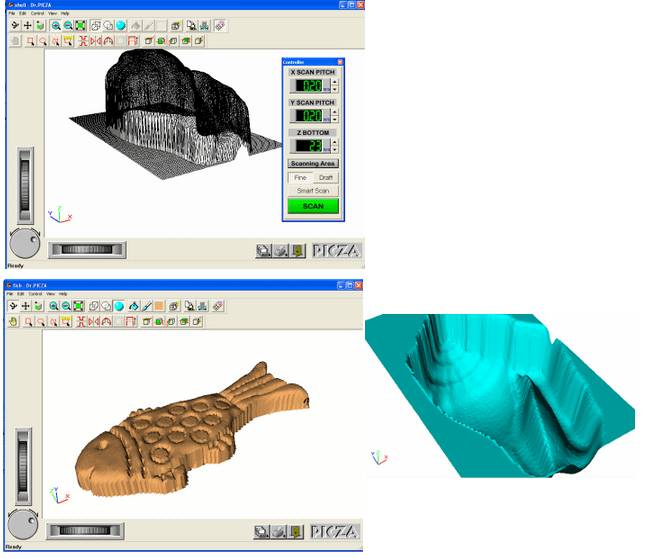
I was testing also the roland modella scanner, it takes arround 10 hours to scann a small crocodile aprox. 50mm x 30mm x 20mm but unfortunatly almost at the end of the process the electric enerty of fablab falls down and i lose the data of this experience.
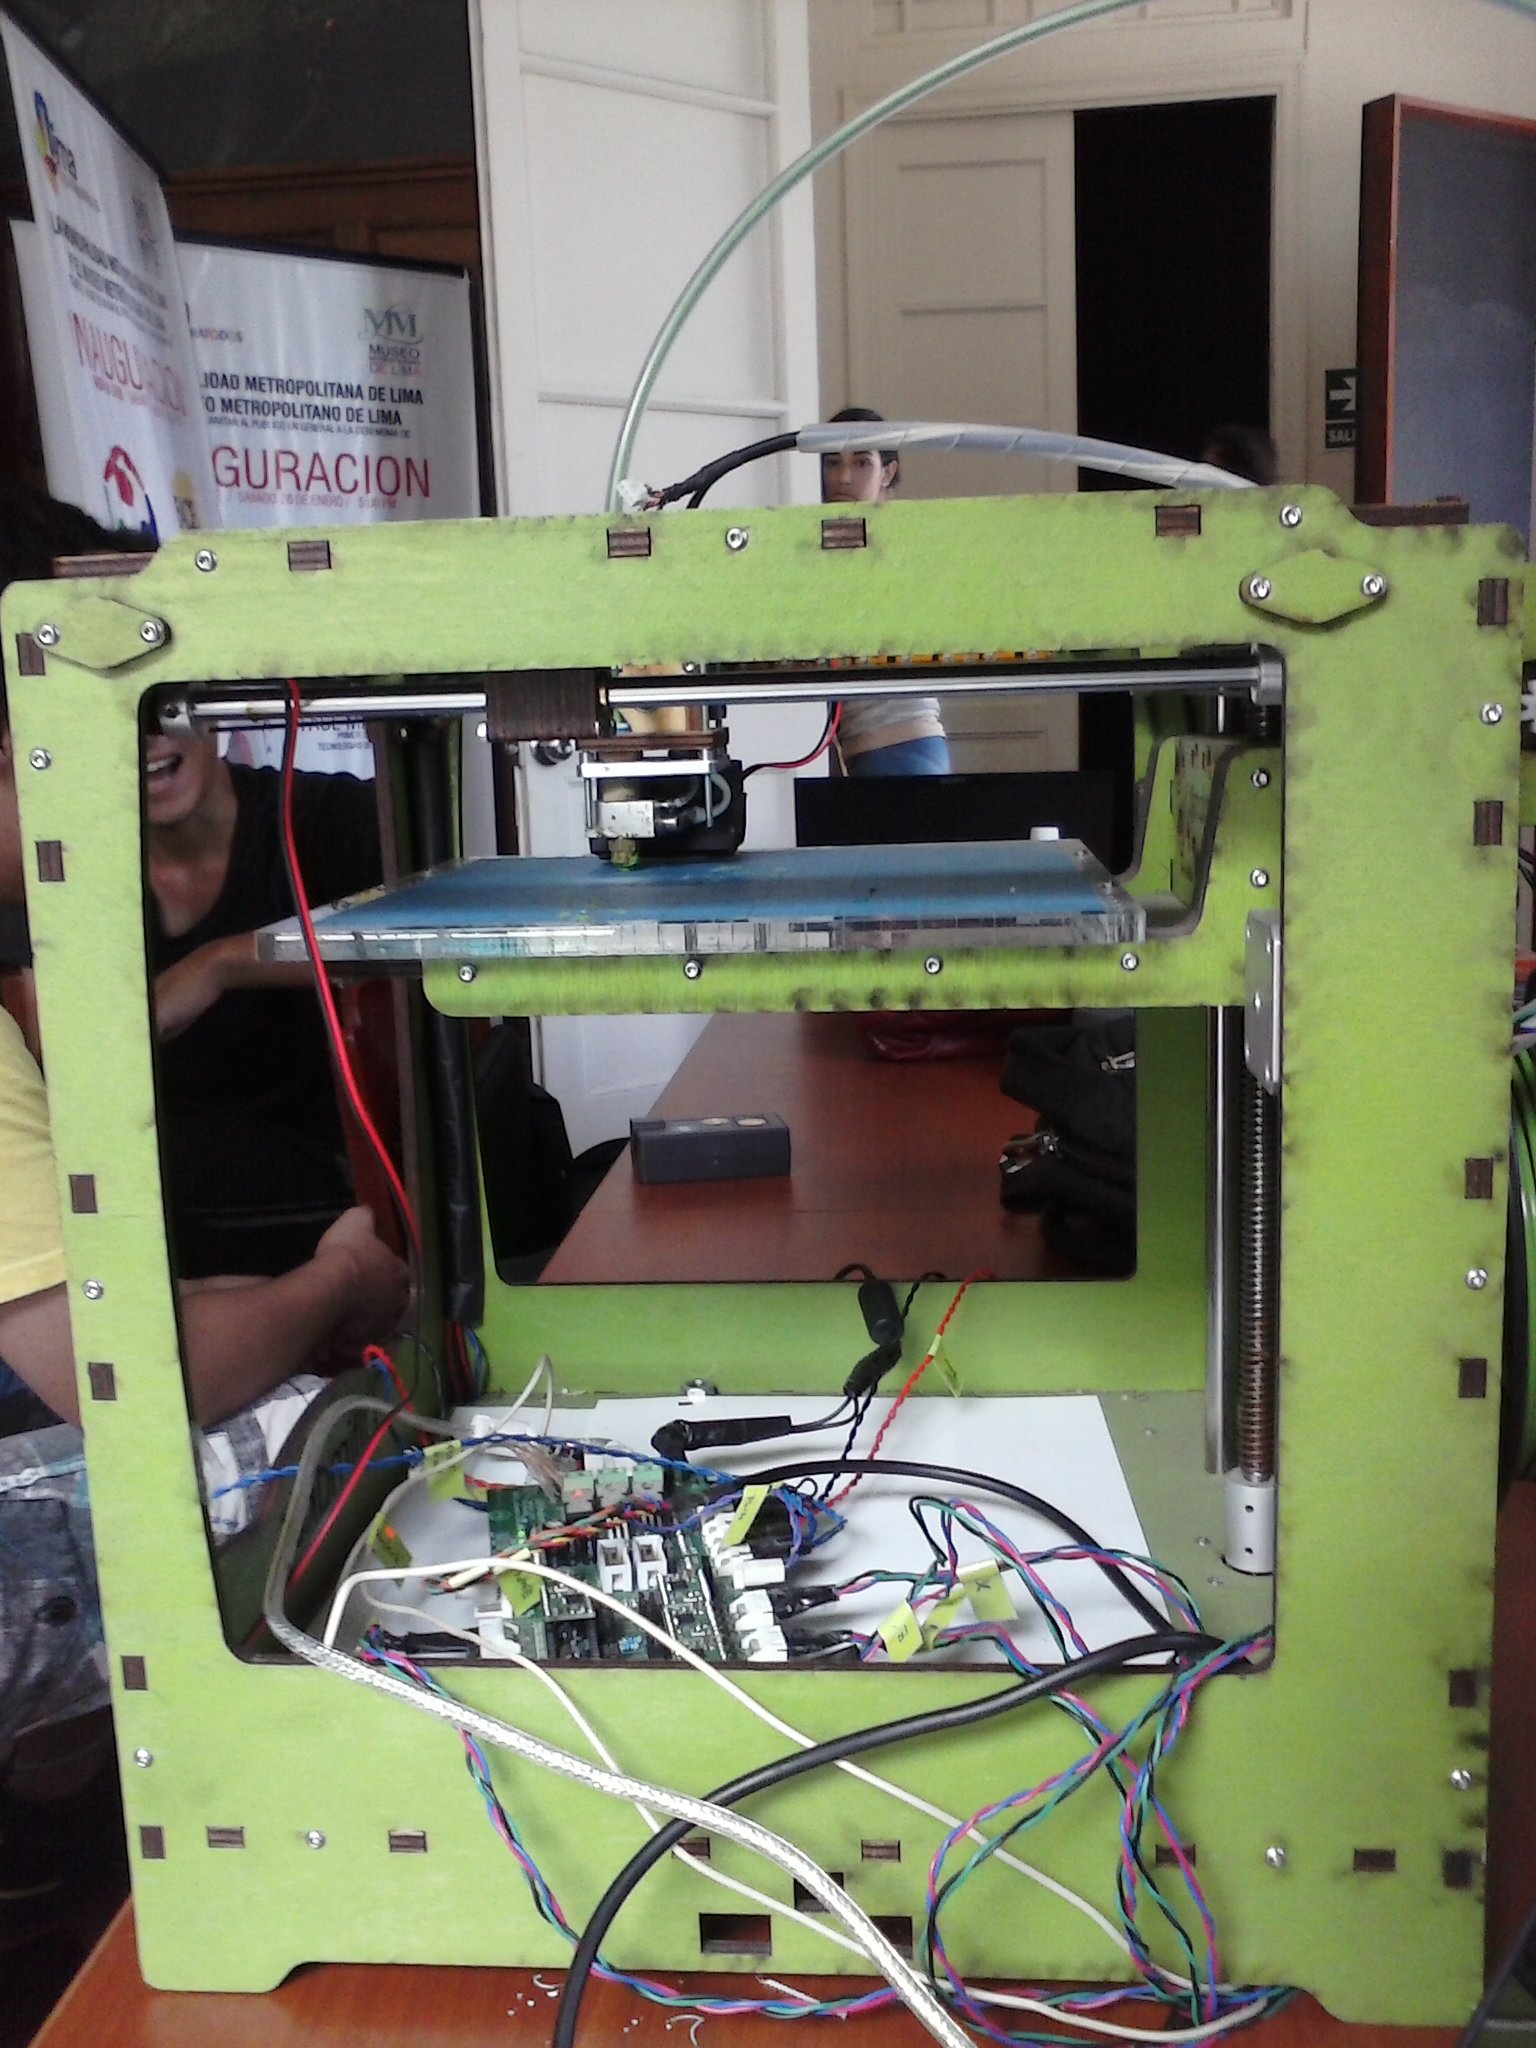
2. 3d Printing
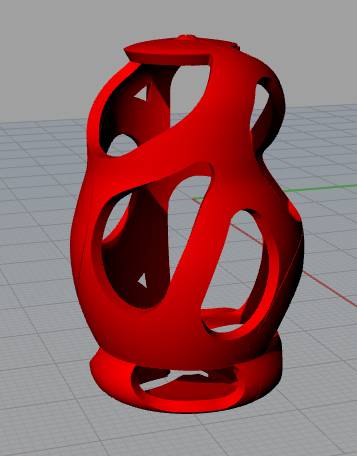
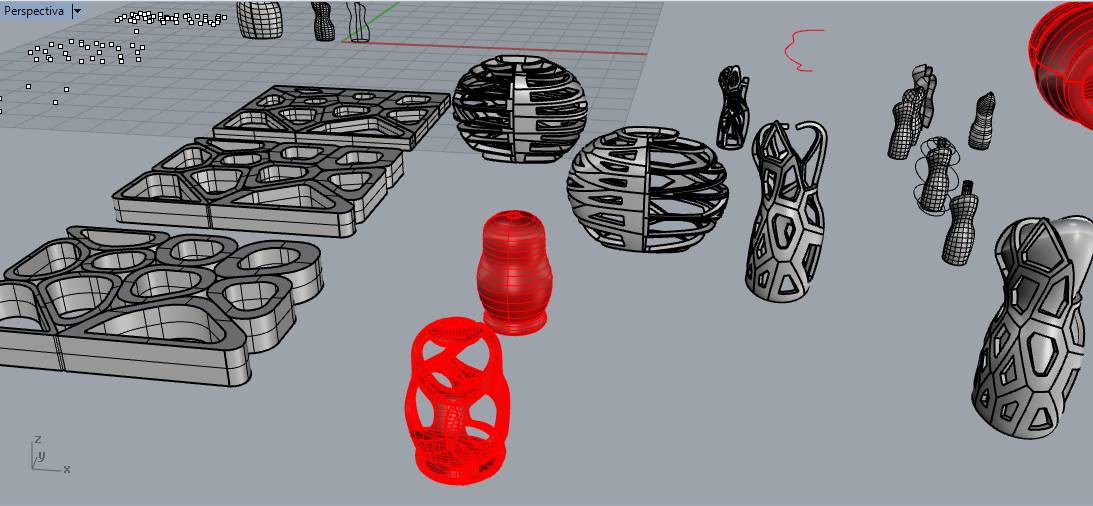
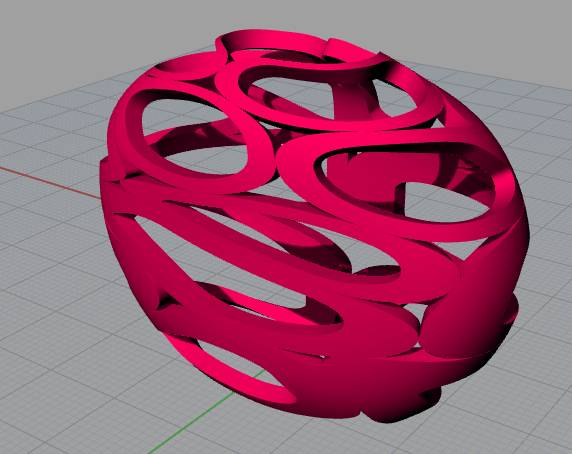
In this assignment i wanted to print all the fabulous and complicated shapes that i can generate with grasshopper, this all shapes are really impossible to build with another process. So i started creating this complicated shapes in order to take them into the real world.
I was using the red machine, we were trying to make work the ultimaker but we didnt have luck.
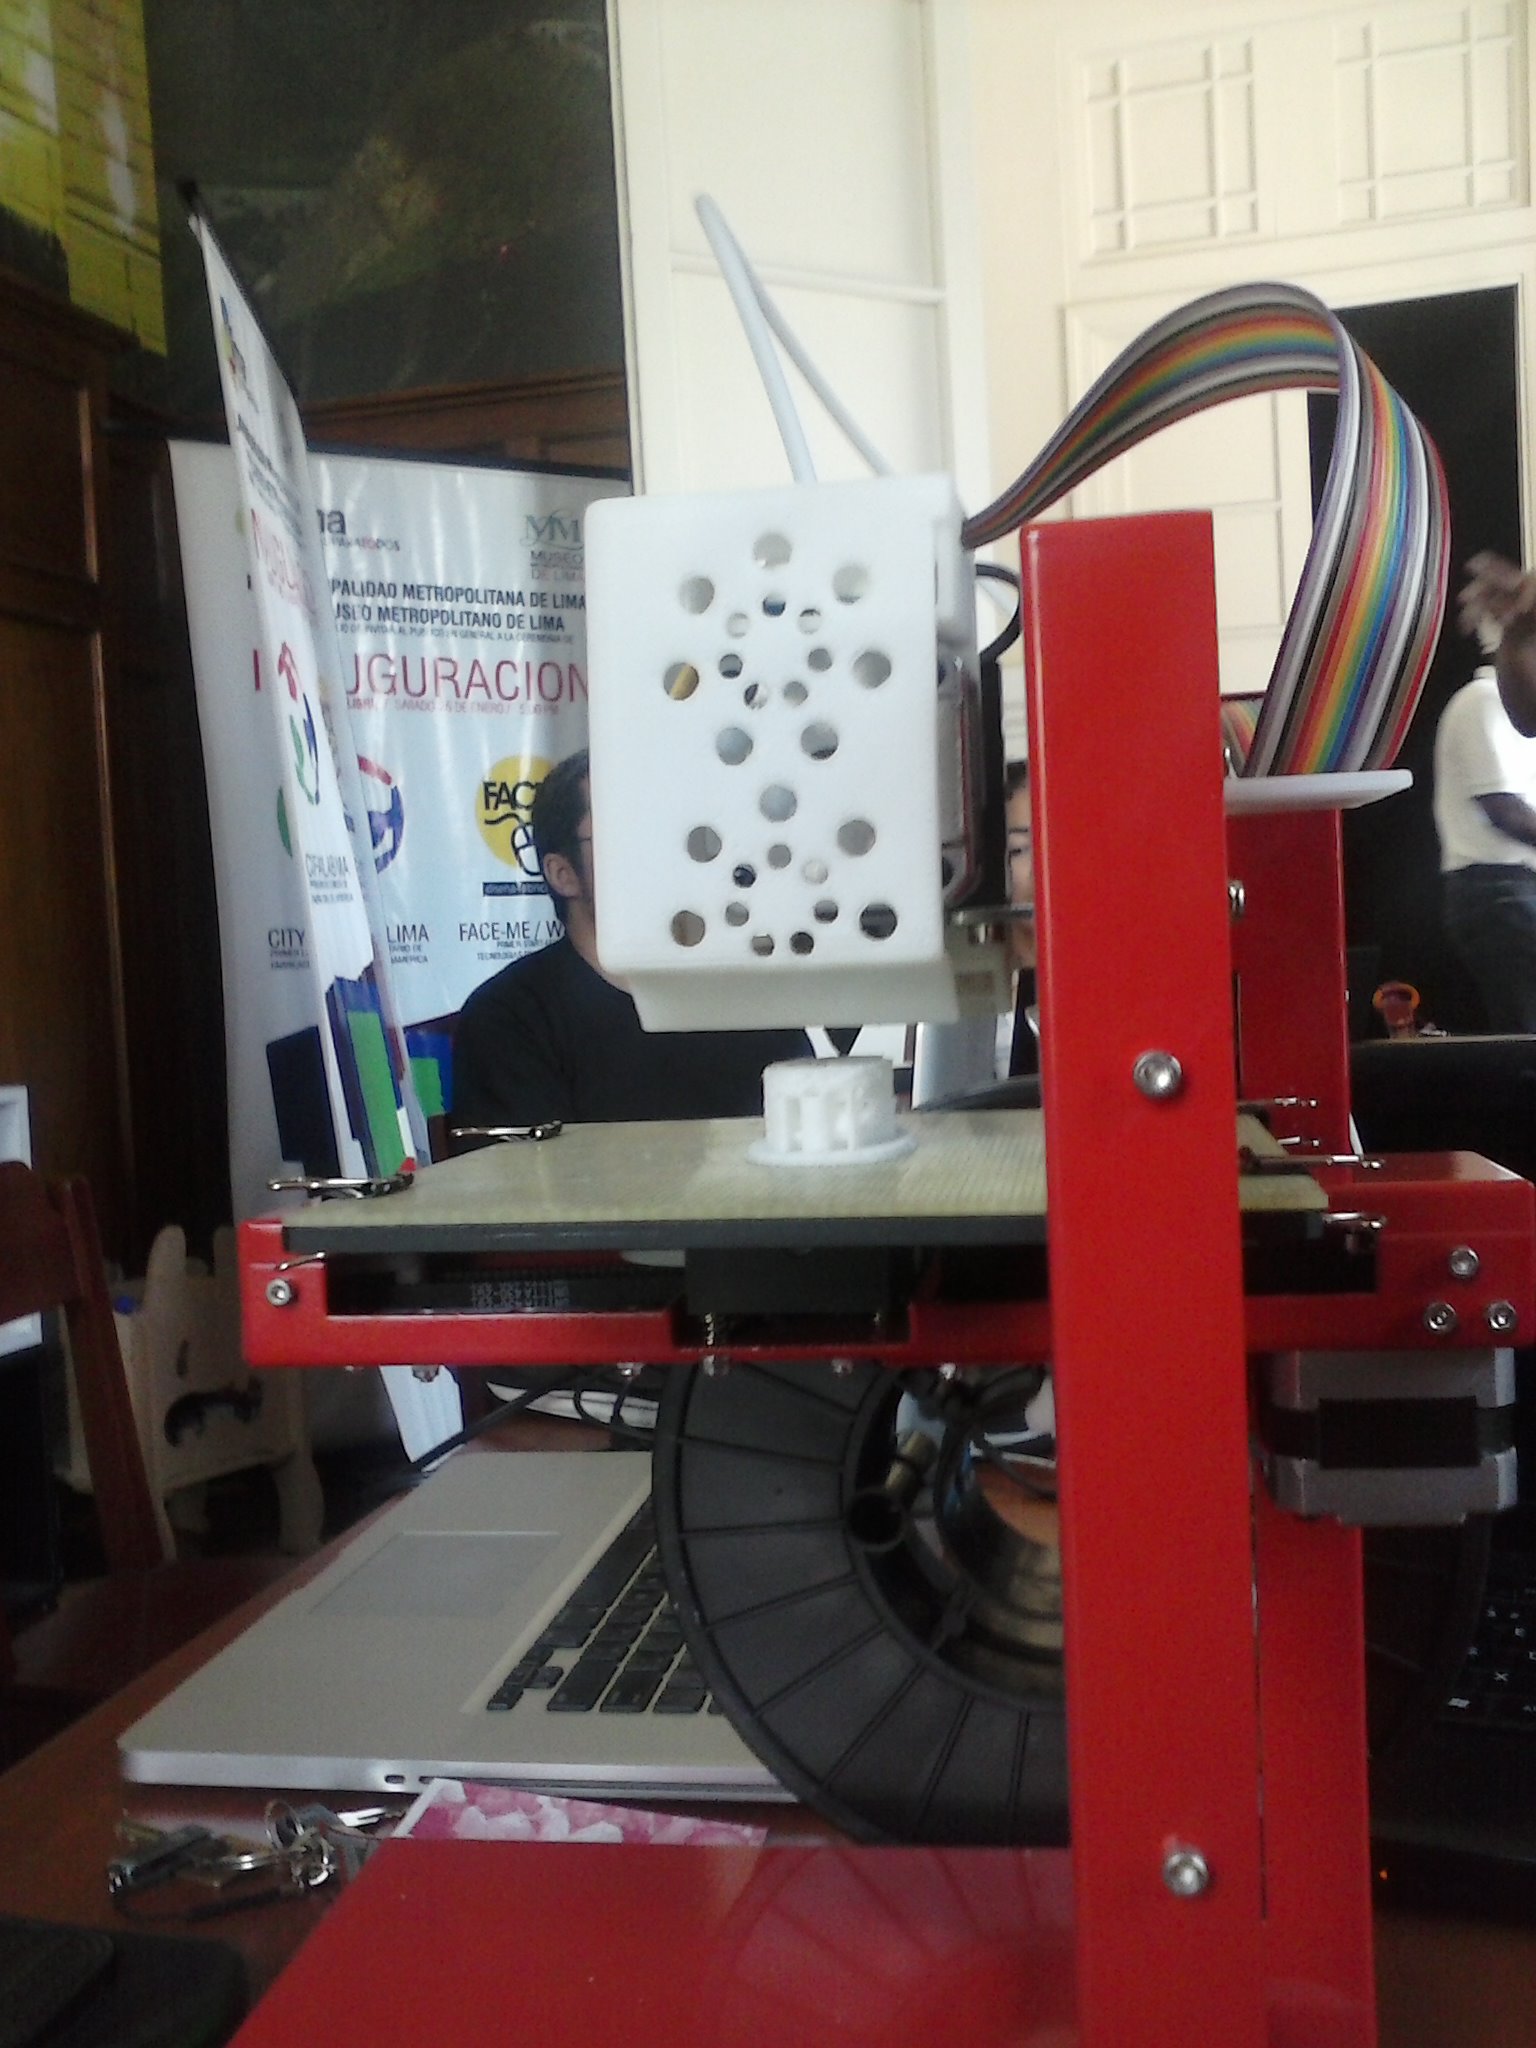
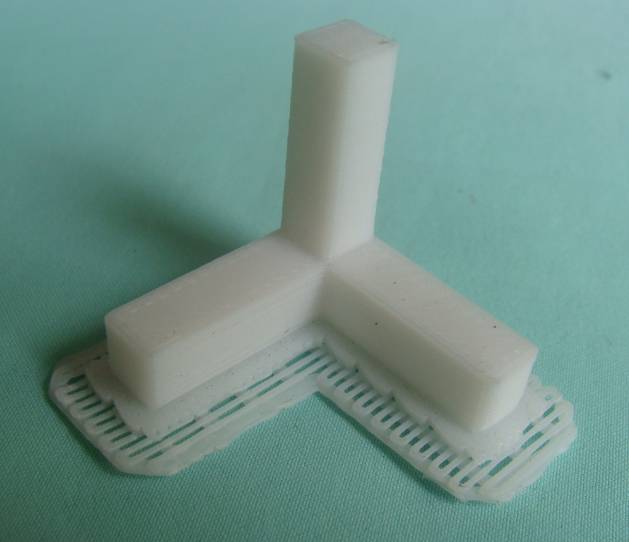
Before printing i had to set up the 3d printer i learned about the definition of the piece and the texture of the structural shapes. This photo will explain what i mean.
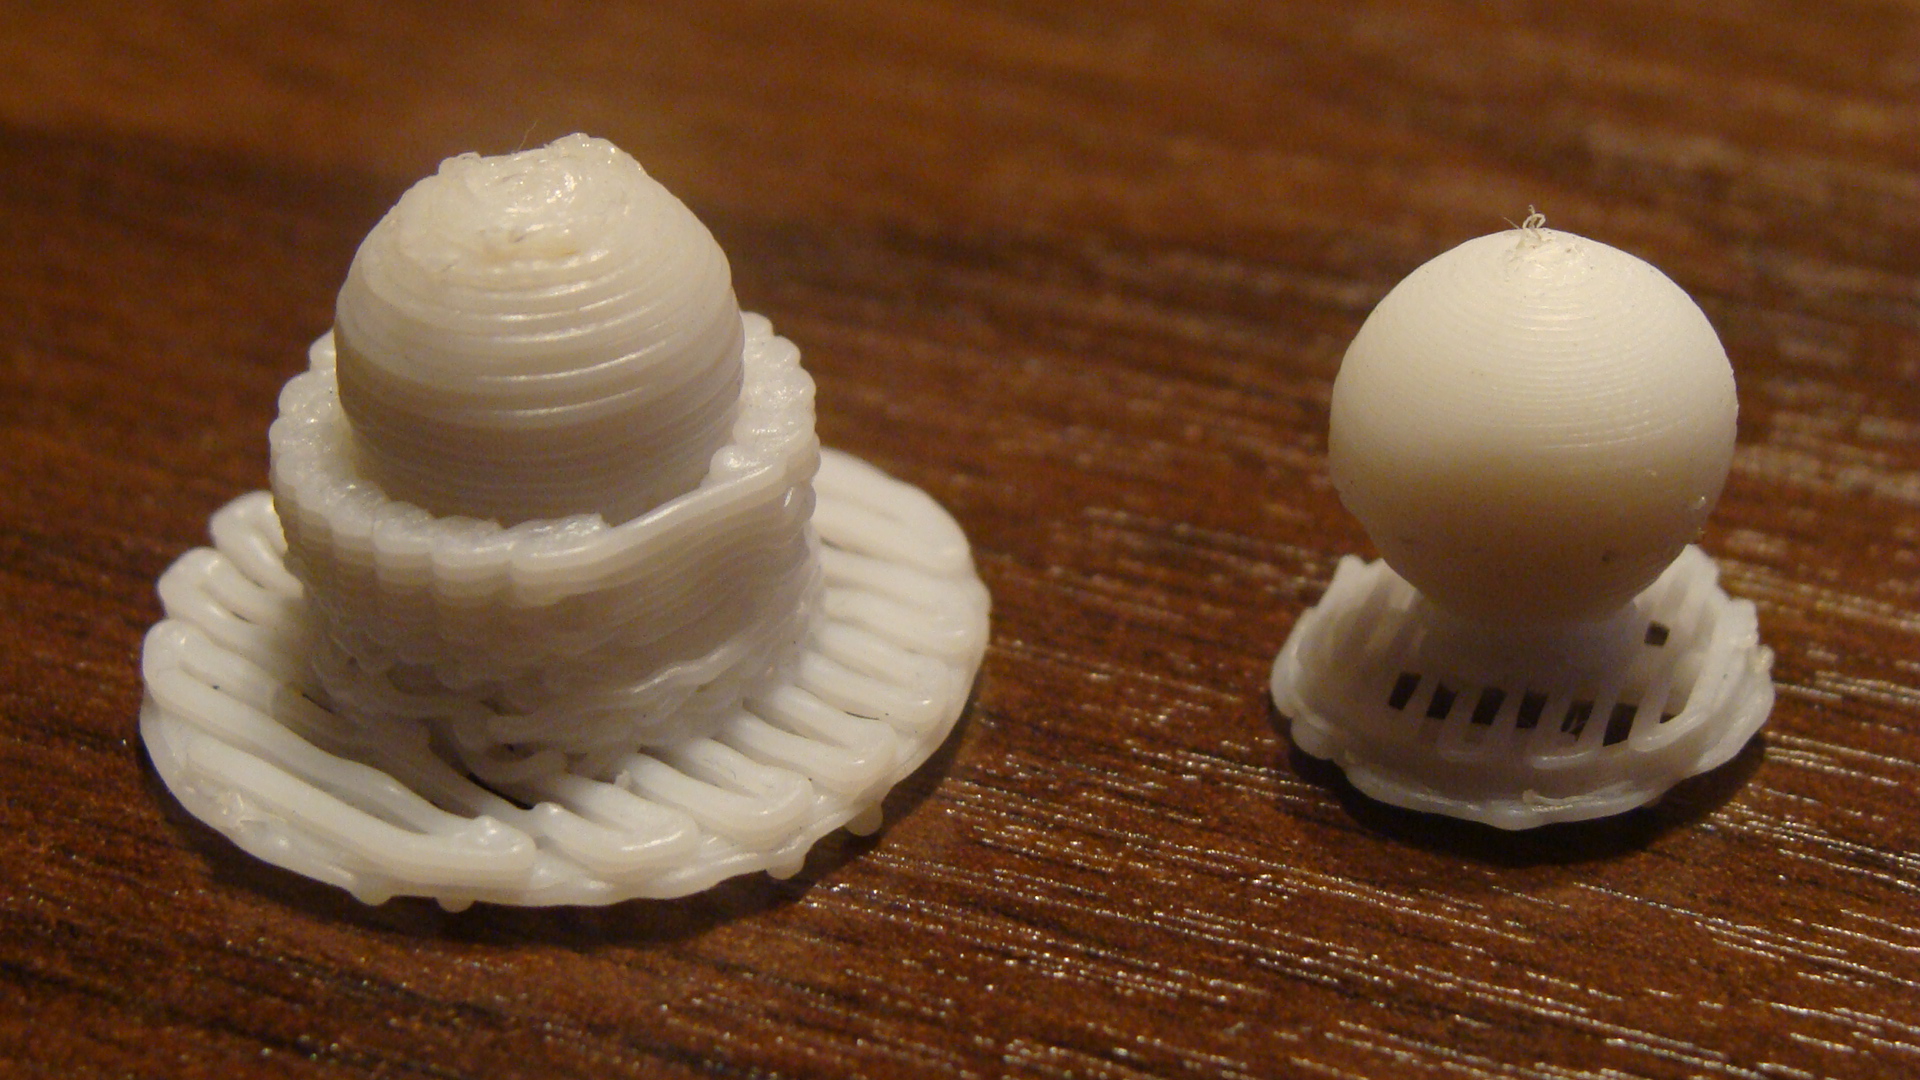
The first model has a 45 angle of base and a very low resolution, the second model has a 10 degrees base, high resolution.
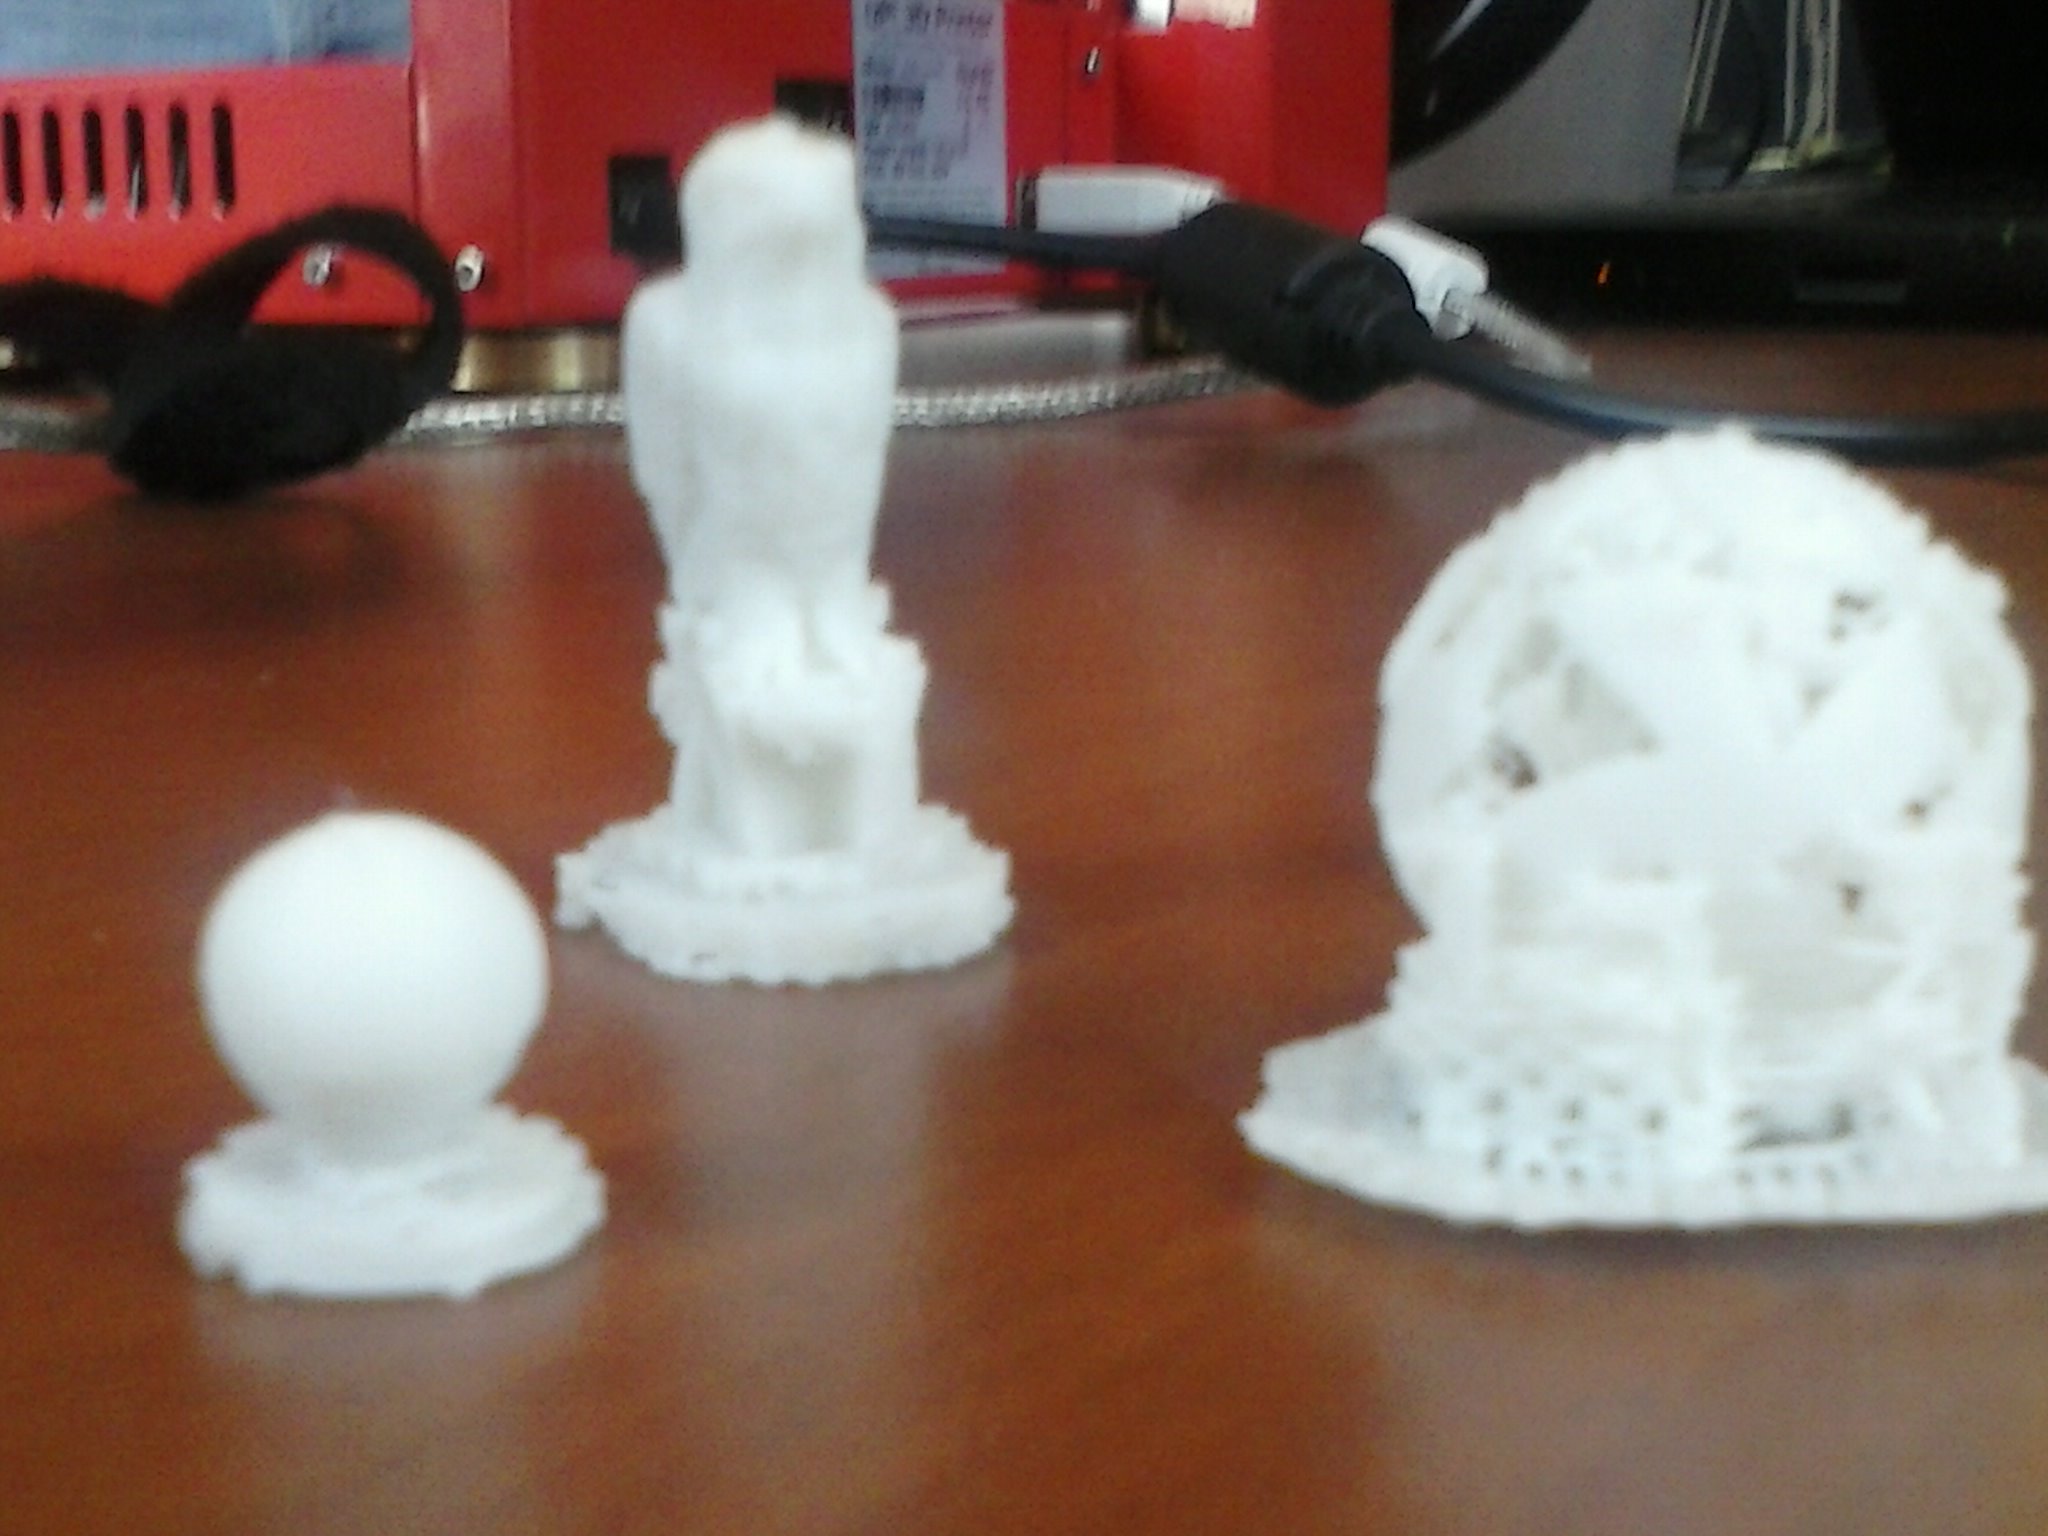
Another tests were this
After this process i decided to print this shape:
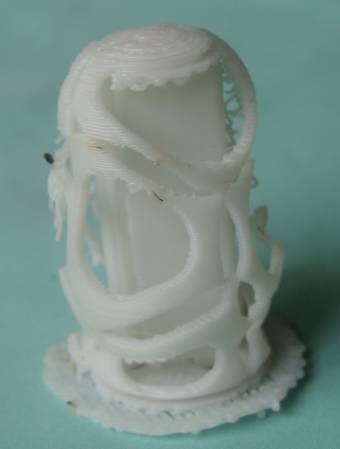
We couldn't use the machine for a lot of time so I decided to do experiments, my first model result was this.

The 3d printer created a structure outside and inside the model, i though it was because in grasshopper the circles were tangent one to the other, because of that i decided to intersect al objects of the geometry and i tryed with this form.
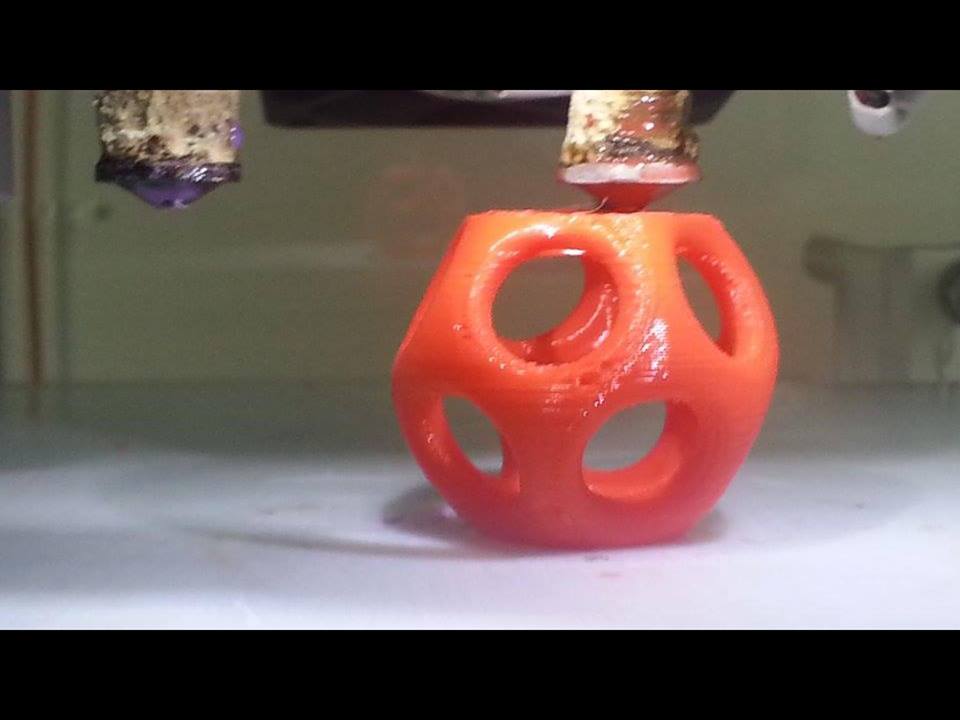
The result was better but the printer built also a structure inside the shape. For better results i decided to do something easy and the machine was working perfect.
This particulary the example of WeaverBird software is a very good form for testing a 3dprinter,if this is ok many things gonna be ok. For making sure and for testing the limits of the printer use the other test models on the link, all available on thingiverse.